


PREREQUISITI
Scaricare l’ultima versione di Raspbian da installare su Raspberry PI dal sito uffiale al link seguente
https://www.raspberrypi.org/downloads/raspbian
Vanno bene entrambi le versioni non cambia nulla, riusciremo in ogni caso a raggiungere il risultato, ovvero installare Zabbix.
SD da minimo 16 GB
Raspberry PI2 o PI3
AGGIORNAMENTO PACCHETTI
|
0 1 |
sudo apt-get update sudo apt-get upgrade |
INSTALLAZIONE ZABBIX SERVER
|
0 1 2 |
sudo apt-get install zabbix-server-mysql zabbix-frontend-php sudo apt-get install php7.0-mysql sudo apt-get install task-italian |
CONFIGURAZIONE MYSQL SERVER
|
0 |
mysql_secure_installation |
A questo punto rispondere alle domande come di seguito:
|
0 1 2 3 4 5 6 7 8 9 10 11 12 13 14 |
In order to log into MySQL to secure it, we'll need the current password for the root user. If you've just installed MySQL, and you haven't set the root password yet, the password will be blank, so you should just press enter here. Enter current password for root (enter for none): OK, successfully used password, moving on... Setting the root password ensures that nobody can log into the MySQL root user without the proper authorisation. You already have a root password set, so you can safely answer 'n'. Change the root password? [Y/n] n ... skipping. |
|
0 1 2 3 4 5 6 7 8 |
By default, a MySQL installation has an anonymous user, allowing anyone to log into MySQL without having to have a user account created for them. This is intended only for testing, and to make the installation go a bit smoother. You should remove them before moving into a production environment. Remove anonymous users? [Y/n] Y ... Success! |
|
0 1 2 3 4 5 |
Normally, root should only be allowed to connect from 'localhost'. This ensures that someone cannot guess at the root password from the network. Disallow root login remotely? [Y/n] Y ... Success! |
|
0 1 2 3 4 5 6 7 8 9 10 |
By default, MySQL comes with a database named 'test' that anyone can access. This is also intended only for testing, and should be removed before moving into a production environment. Remove test database and access to it? [Y/n] Y - Dropping test database... ERROR 1008 (HY000) at line 1: Can't drop database 'test'; database doesn't exist ... Failed! Not critical, keep moving... - Removing privileges on test database... ... Success! |
|
0 1 2 3 4 5 6 7 8 9 10 11 12 |
Reloading the privilege tables will ensure that all changes made so far will take effect immediately. Reload privilege tables now? [Y/n] Y ... Success! Cleaning up... All done! If you've completed all of the above steps, your MySQL installation should now be secure. Thanks for using MySQL! |
A queso punto editiamo il file di configurazione di MySQL con il comando:
|
0 |
sudo nano /etc/mysql/my.cnf |
Quindi aggiungiamo le seguenti righe di codice all’interno del file:
|
0 1 2 3 4 5 6 7 8 9 10 11 12 13 |
[mysqld] character-set-server=utf8 collation-server=utf8_general_ci skip-character-set-client-handshake default-storage-engine=InnoDB innodb_file_per_table innodb_buffer_pool_size=256M skip-name-resolve [mysqldump] default-character-set=utf8 [mysql] default-character-set=utf8 |
Riavviare MySQL per applicare le impostazioni:
|
0 |
sudo systemctl restart mysql |
|
0 |
sudo systemctl restart mysql |
CONFIGURAZIONE APACHE SERVER
Apriamo il file security.conf di Apache con il comando:
|
0 |
sudo nano /etc/apache2/conf-available/security.conf |
Cambiare la riga da
ServerTokens OS
a
ServerTokens Prod
Individuare la riga
ServerSignature On
e impostare
ServerSignature Off
A questo punto editiamo il file charset.conf di Apache con il comando:
|
0 |
sudo nano /etc/apache2/conf-available/charset.conf |
verificare che la riga seguente sia commentata
#AddDefaultCharset UTF-8
OPZIONALE – Impostare il server Name con i seguenti comandi:
|
0 1 |
sudo sh -c "echo RASPBERRY-MONITOR ${HOSTNAME} > /etc/apache2/conf-available/fqdn.conf" sudo a2enconf fqdn |
NOTA BENE: al posto di RASPBERRY-MONITOR inserire il nome FQDn che intendete dare al Raspberry
Testiamo Apache con i comandi:
|
0 1 |
sudo apachectl configtest sudo systemctl restart apache2 |
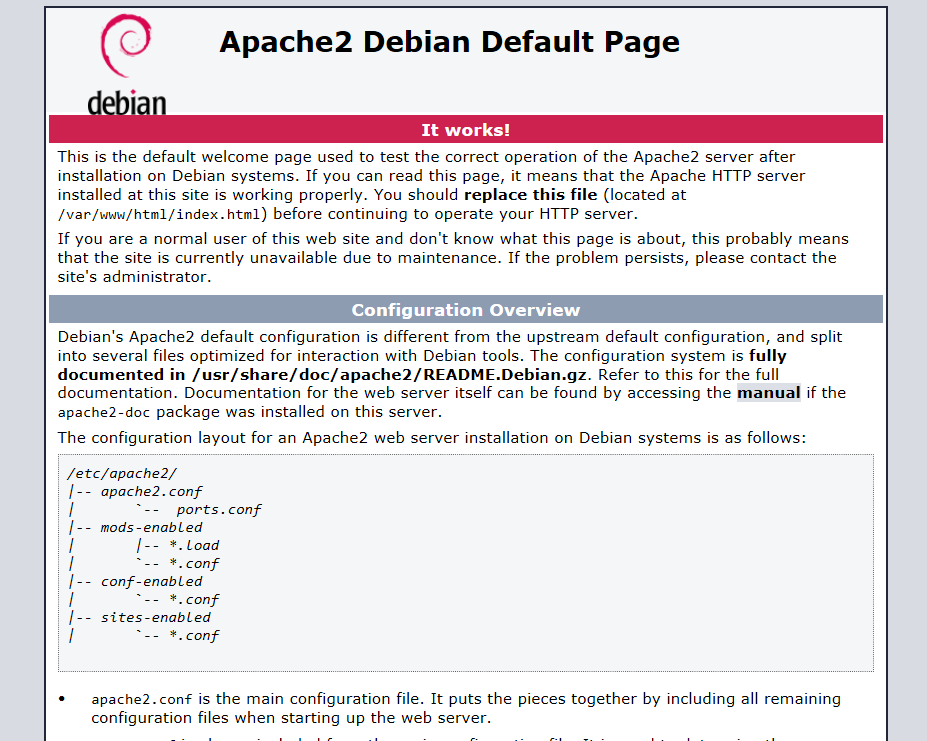
Se richiamiamo la pagina http://IP_RASPBERRY dovremmo vedere la Home Page di Apache
CONFIGURAZIONE MYSQL SERVER
Accediamo quindi al MySQL con l’utente root:
|
0 |
mysql -u root -p |
Lanciamo i seguenti comandi per dare i privilegi all’utente zabbix@localhost sul database zabbix
|
0 1 2 |
create database zabbix character set utf8 collate utf8_bin; grant all privileges on zabbix.* to zabbix@localhost identified by 'zabbix_password'; quit |
|
0 1 2 |
zcat /usr/share/zabbix-server-mysql/schema.sql.gz | mysql -uzabbix -p zabbix zcat /usr/share/zabbix-server-mysql/images.sql.gz | mysql -uzabbix -p zabbix zcat /usr/share/zabbix-server-mysql/data.sql.gz | mysql -uzabbix -p zabbix |
CONFIGURAZIONI VARIE
Copiamo Apache.conf con il comando:
|
0 |
sudo cp /usr/share/doc/zabbix-frontend-php/examples/apache.conf /etc/apache2/conf-available/zabbix.conf |
Editiamo il file zabbix.conf aggiungendo all’interno le righe elencate di seguito:
|
0 |
sudo nano /etc/apache2/conf-available/zabbix.conf |
|
0 1 2 3 4 5 6 |
# Add the following lines php_value max_execution_time 300 php_value memory_limit 128M php_value post_max_size 16M php_value upload_max_filesize 2M php_value max_input_time 300 php_value date.timezone Europe/Rome |
Quindi lanciamo i seguenti comandi in ordine:
|
0 1 2 |
sudo a2enconf zabbix sudo apachectl configtest sudo systemctl restart apache2 |
Editiamo il file di configurazione di Zabbix con il comando:
|
0 |
sudo nano /etc/zabbix/zabbix_server.conf |
Quindi valorizziamo i seguenti parametri:
DBHost=localhost
DBName=zabbix
DBUser=zabbix
DBPassword=zabbix_password
Creiamo il file zabbix-server
|
0 |
sudo nano /etc/default/zabbix-server |
all’interno inseriamo la seguente riga
START=yes
Salviamo il file e chiudiamolo
Lanciamo il seguente comando per modificare i fonts di Zabbix
|
0 |
sudo ln -s /usr/share/fonts/truetype/unifont/unifont.ttf /usr/share/zabbix/fonts/ |
|
0 |
sudo nano /usr/share/zabbix/include/defines.inc.php |
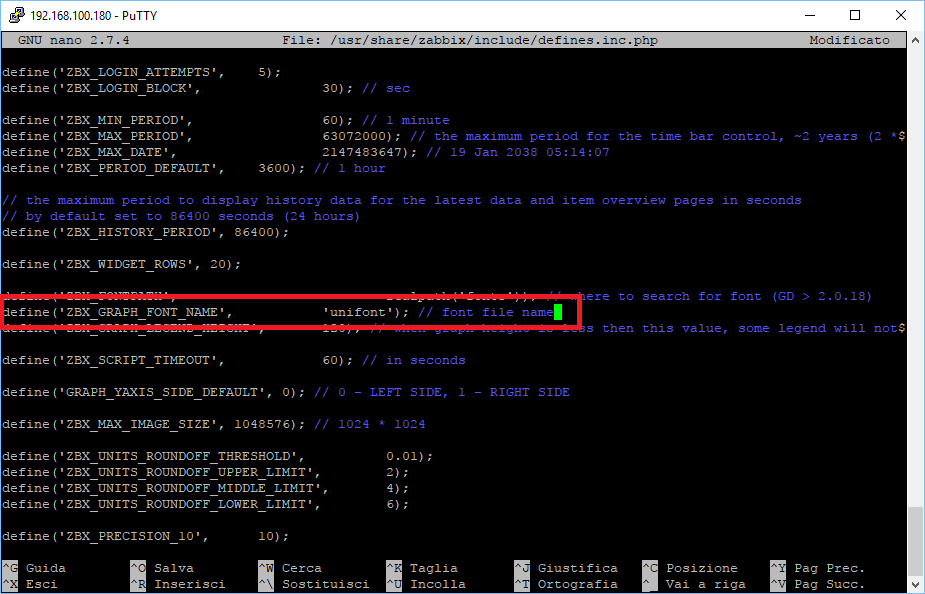
Quindi inseriamo la seguente riga come mostrato nell’immagine sovrastante
define(‘ZBX_GRAPH_FONT_NAME’, ‘unifont’);
Riavviamo zabbix server con il comando:
|
0 |
sudo systemctl restart zabbix-server |
Infine abilitiamo il servizio Zabbix Server a partire all’avvio del server con il comando:
|
0 |
sudo systemctl enable zabbix-server |
A questo punto richiamando il link http://IP_RASPBERRY/Zabbix dovremmo visualizzare la pagina di configurazione di Zabbix Server
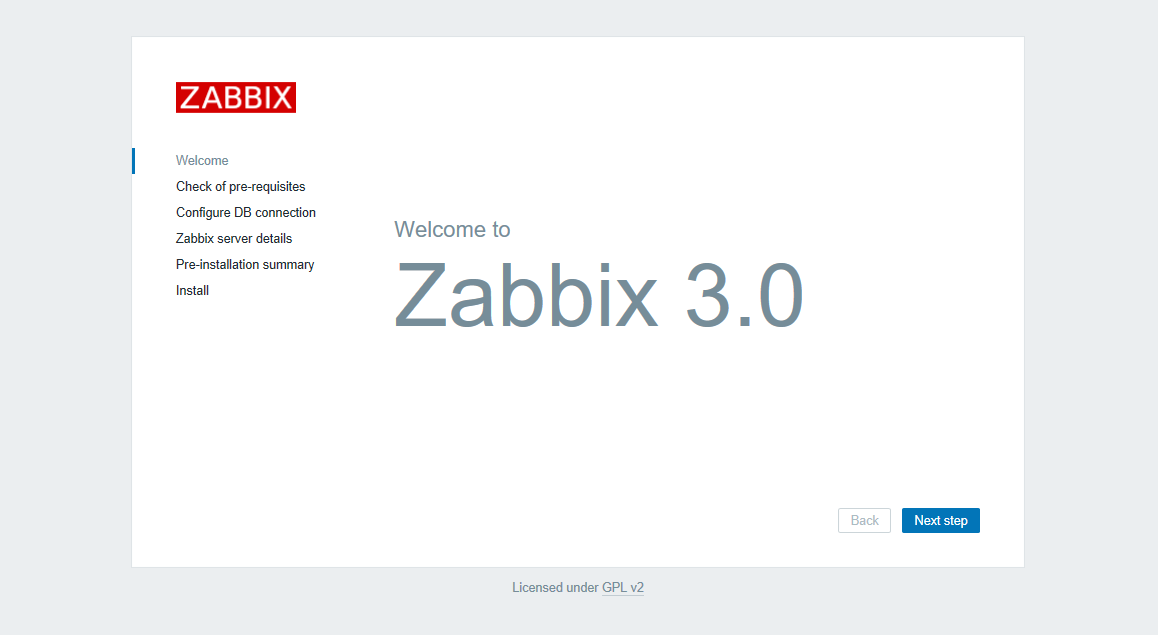
Cliccare su Next
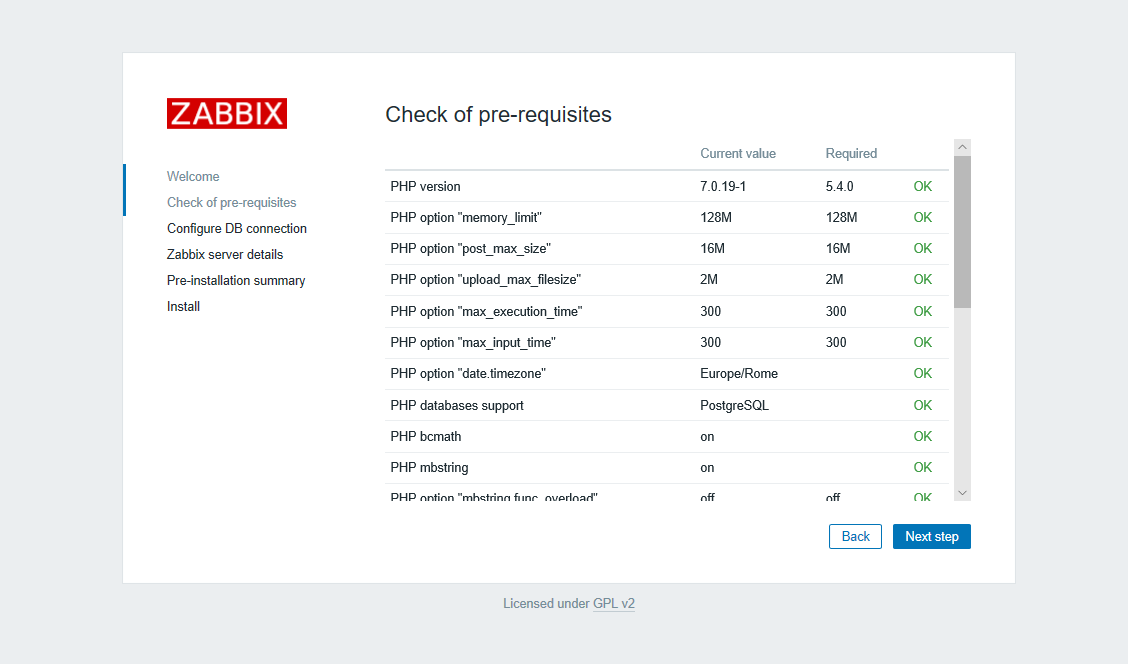
Verificare che sia tutto OK quindi cliccare su Next step
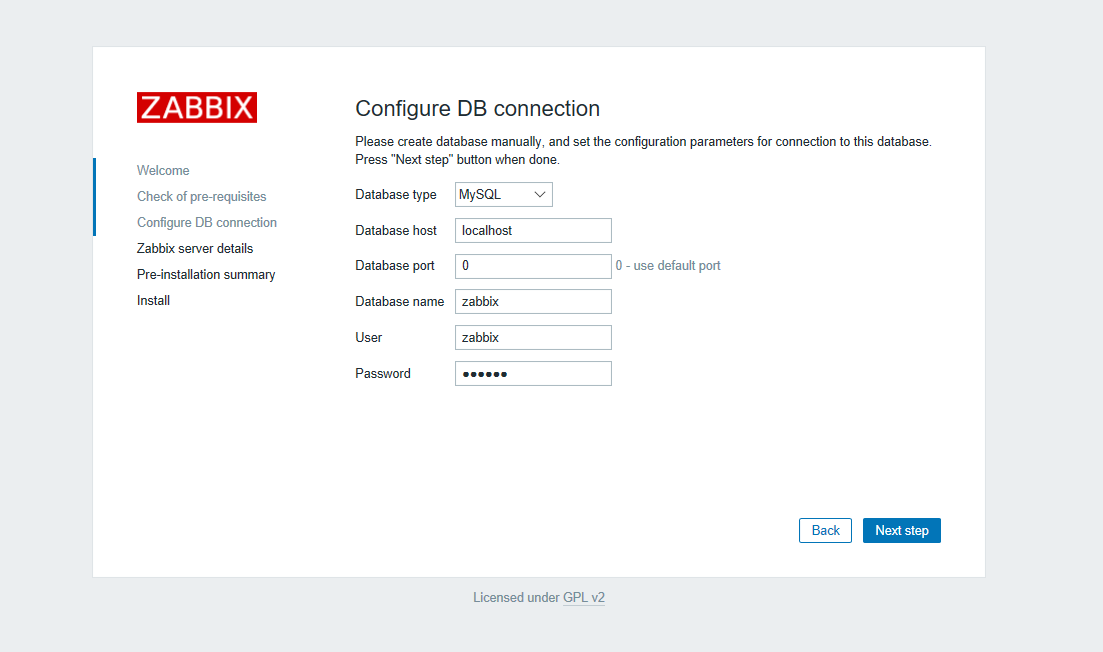
Inserire tutte le informazioni relative alla connessione al database quindi cliccare Next step
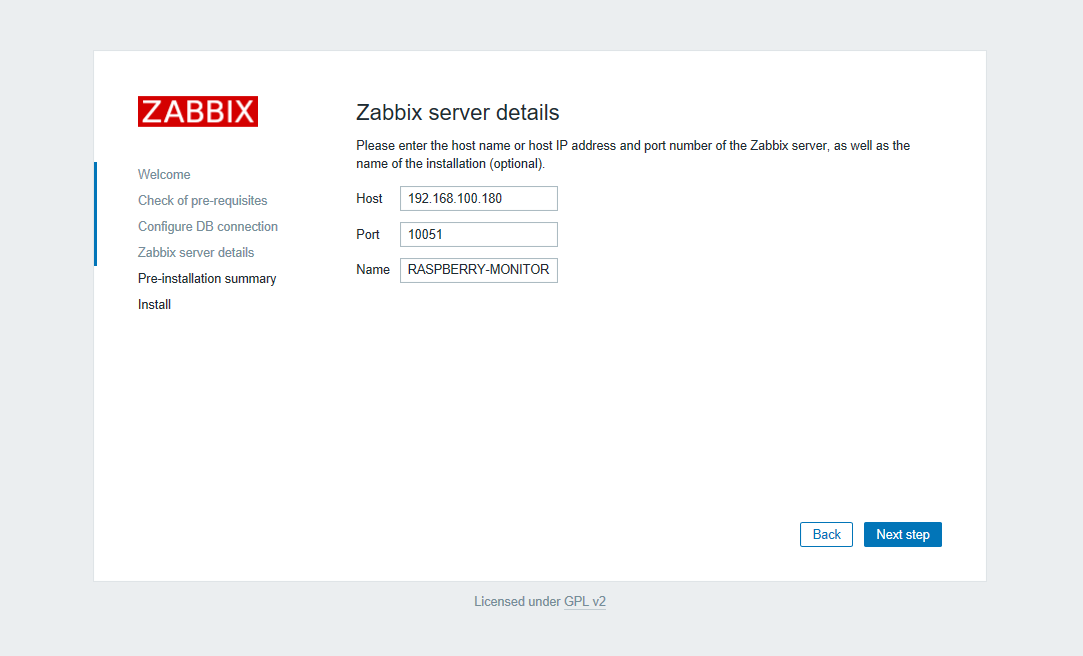
Impostare Indirizzo IP , porta e Nome del server Zabbix quindi cliccare Next step
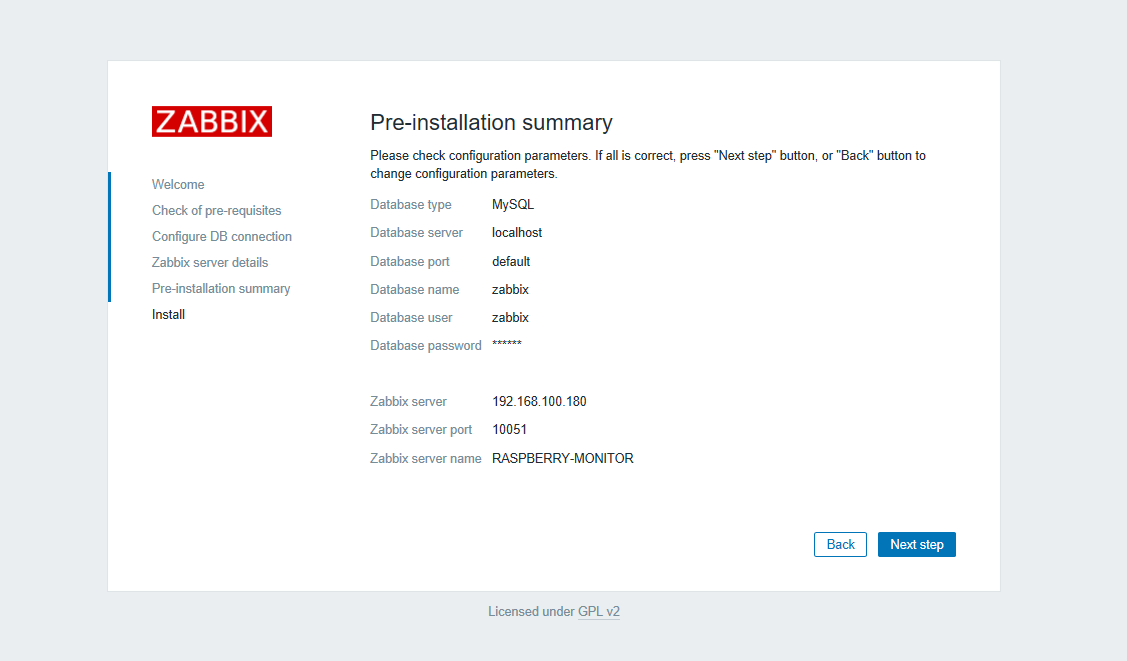
Rileggere il sommario quindi se è tutto OK cliccare su Next step
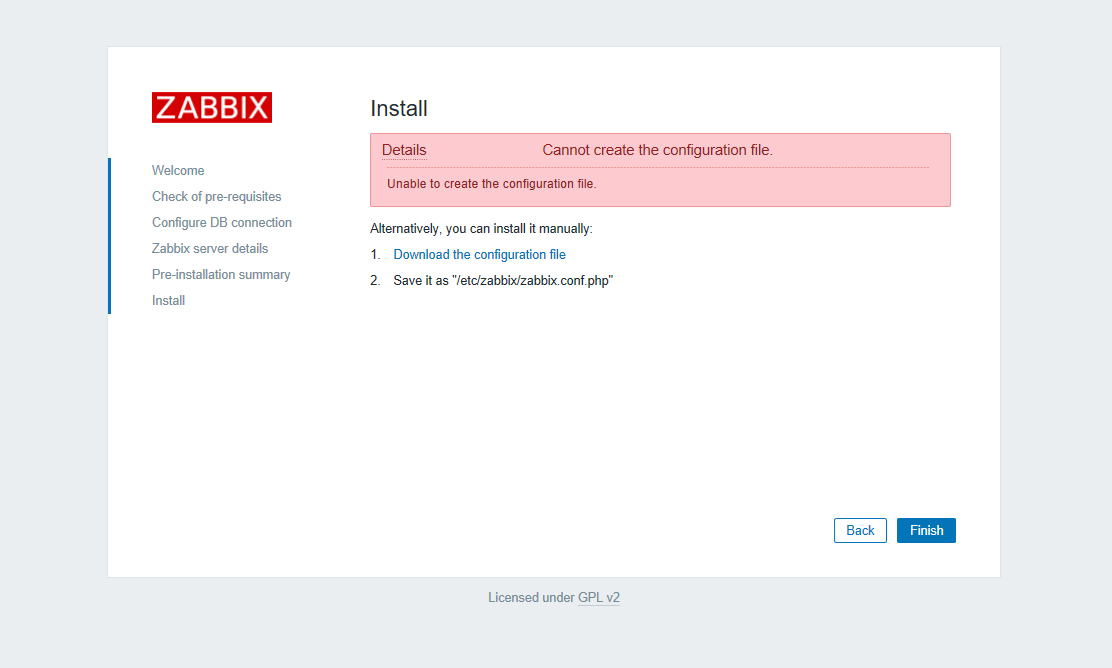
Cliccare su Download the configuration file quindi copiarlo sul server nel seguente path /etc/zabbix/
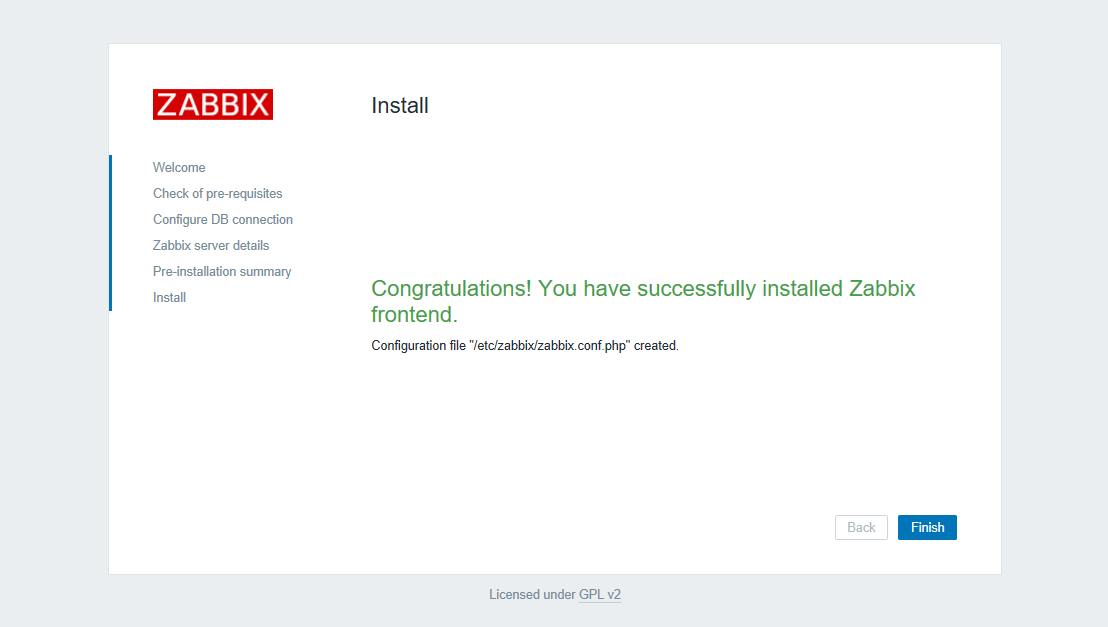
Se è tutto OK dovremmo vedere una schermata come quella sovrastante
Cliccare su Finish per terminare l’installazione
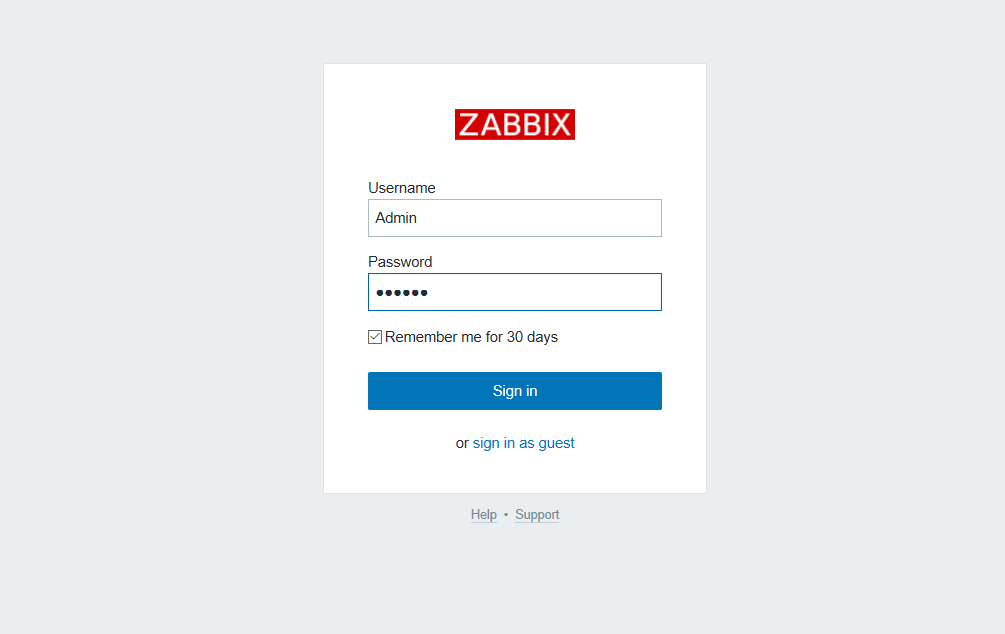
Inserire le credenziali di default per accedere:
USER: Admin
PASSWORD: zabbix
INSTALLAZIONE AGENT ZABBIX
Lanciare i seguenti comandi per installare l’Agent di Zabbix su Raspberry
|
0 1 |
apt-get update apt-get install zabbix-agent |


![Errore in LibreNMS: Python3 module issue found: ‘Required packages: [‘PyMySQL!=1.0.0’, ‘python-dotenv’, ‘redis>=4.0’, ‘setuptools’, ‘psutil>=5.6.0’, ‘command_runner>=1.3.0’]](https://www.raffaelechiatto.com/wp-content/uploads/2024/09/Errore_in_LibreNMS_Python3_module_issue_found-1080x675.png.avif)


0 commenti