


L’installazione e la configurazione di oVirt Engine 4.5.6 su CentOS Stream 9 rappresentano un passo significativo per chi desidera implementare una soluzione di virtualizzazione robusta e scalabile.
oVirt Engine funge da componente centrale del sistema di gestione della virtualizzazione, offrendo un’interfaccia web intuitiva per amministrare host, macchine virtuali, storage e reti.
CentOS Stream 9, con il suo modello di rilascio continuo, fornisce una piattaforma aggiornata e stabile per eseguire oVirt Engine. In questo articolo, guideremo l’utente attraverso i passaggi necessari per installare e configurare oVirt Engine 4.5.6 su CentOS Stream 9, affrontando eventuali problematiche comuni e fornendo soluzioni basate sulle esperienze della comunità.
È importante notare che, sebbene oVirt abbia iniziato a supportare CentOS Stream 9, potrebbero sorgere alcune difficoltà durante il processo di installazione, come evidenziato da discussioni nella community
Pertanto di seguito fornirò suggerimenti pratici per superare tali ostacoli e garantire un’implementazione di successo.
PREREQUISITI
AGGIORNAMENTO DEI PACCHETTI
Eseguire i comandi seguenti per assicurarsi che tutti i pacchetti di sistema siano aggiornati:
|
0 |
sudo dnf -y update |
Di seguito l’output:
|
0 1 2 3 4 5 |
CentOS Stream 9 - BaseOS 6.9 MB/s | 8.4 MB 00:01 CentOS Stream 9 - AppStream 20 MB/s | 22 MB 00:01 CentOS Stream 9 - Extras packages 34 kB/s | 20 kB 00:00 Dependencies resolved. Nothing to do. Complete! |
Quand0 gli aggiornamenti del Kernel sono stati applicati riavviare il server con il comando:
|
0 |
sudo reboot |
AGGIUNGERE I REPOSITORY DI OVIRT
Abilitare i repository corretti che contengono i pacchetti oVirt Engine con il comando:
|
0 |
sudo dnf install -y centos-release-ovirt45 |
Dovremmo visualizzare il seguente output:
|
0 1 2 3 4 5 6 7 8 9 10 11 12 13 14 15 16 17 18 19 20 21 22 23 24 25 26 27 28 29 30 31 32 33 34 35 36 37 38 39 40 41 42 43 44 45 46 47 48 49 50 51 52 53 54 55 56 57 58 59 60 61 62 63 64 65 66 67 68 69 70 71 72 73 74 75 76 77 78 79 80 81 82 83 84 85 86 87 88 89 90 91 92 93 94 95 96 |
Last metadata expiration check: 0:02:13 ago on Sat 08 Feb 2025 10:07:24 PM CET. Dependencies resolved. ================================================================================ Package Arch Version Repository Size ================================================================================ Installing: centos-release-ovirt45 noarch 9.2-1.el9s extras-common 18 k Installing dependencies: centos-release-ceph-pacific noarch 1.0-2.el9s extras-common 7.4 k centos-release-cloud noarch 1-1.el9s extras-common 7.9 k centos-release-gluster10 noarch 1.0-2.el9s extras-common 8.8 k centos-release-messaging noarch 1-4.el9s extras-common 8.4 k centos-release-nfv-common noarch 1-5.el9s extras-common 7.8 k centos-release-nfv-openvswitch noarch 1-5.el9s extras-common 7.5 k centos-release-openstack-yoga noarch 1-4.el9s extras-common 8.0 k centos-release-opstools noarch 1-12.el9s extras-common 8.4 k centos-release-rabbitmq-38 noarch 1-4.el9s extras-common 7.4 k centos-release-storage-common noarch 2-5.el9s extras-common 8.3 k centos-release-virt-common noarch 1-4.el9s extras-common 7.9 k Transaction Summary ================================================================================ Install 12 Packages Total download size: 105 k Installed size: 37 k Downloading Packages: (1/12): centos-release-ceph-pacific-1.0-2.el9s. 103 kB/s | 7.4 kB 00:00 (2/12): centos-release-gluster10-1.0-2.el9s.noa 111 kB/s | 8.8 kB 00:00 (3/12): centos-release-cloud-1-1.el9s.noarch.rp 95 kB/s | 7.9 kB 00:00 (4/12): centos-release-messaging-1-4.el9s.noarc 231 kB/s | 8.4 kB 00:00 (5/12): centos-release-nfv-common-1-5.el9s.noar 221 kB/s | 7.8 kB 00:00 (6/12): centos-release-nfv-openvswitch-1-5.el9s 187 kB/s | 7.5 kB 00:00 (7/12): centos-release-opstools-1-12.el9s.noarc 234 kB/s | 8.4 kB 00:00 (8/12): centos-release-openstack-yoga-1-4.el9s. 170 kB/s | 8.0 kB 00:00 (9/12): centos-release-rabbitmq-38-1-4.el9s.noa 196 kB/s | 7.4 kB 00:00 (10/12): centos-release-storage-common-2-5.el9s 182 kB/s | 8.3 kB 00:00 (11/12): centos-release-ovirt45-9.2-1.el9s.noar 222 kB/s | 18 kB 00:00 (12/12): centos-release-virt-common-1-4.el9s.no 192 kB/s | 7.9 kB 00:00 -------------------------------------------------------------------------------- Total 101 kB/s | 105 kB 00:01 CentOS Stream 9 - Extras packages 2.1 MB/s | 2.1 kB 00:00 Importing GPG key 0x1D997668: Fingerprint: 363F C097 2F64 B699 AED3 968E 1FF6 A217 1D99 7668 From : /etc/pki/rpm-gpg/RPM-GPG-KEY-CentOS-SIG-Extras-SHA512 Key imported successfully Running transaction check Transaction check succeeded. Running transaction test Transaction test succeeded. Running transaction Preparing : 1/1 Installing : centos-release-storage-common-2-5.el9s.noarch 1/12 Installing : centos-release-ceph-pacific-1.0-2.el9s.noarch 2/12 Installing : centos-release-gluster10-1.0-2.el9s.noarch 3/12 Running scriptlet: centos-release-gluster10-1.0-2.el9s.noarch 3/12 Failed to preset unit: Unit file glusterd.service does not exist. Installing : centos-release-virt-common-1-4.el9s.noarch 4/12 Installing : centos-release-opstools-1-12.el9s.noarch 5/12 Installing : centos-release-nfv-common-1-5.el9s.noarch 6/12 Installing : centos-release-nfv-openvswitch-1-5.el9s.noarch 7/12 Installing : centos-release-messaging-1-4.el9s.noarch 8/12 Installing : centos-release-rabbitmq-38-1-4.el9s.noarch 9/12 Installing : centos-release-cloud-1-1.el9s.noarch 10/12 Installing : centos-release-openstack-yoga-1-4.el9s.noarch 11/12 Installing : centos-release-ovirt45-9.2-1.el9s.noarch 12/12 Running scriptlet: centos-release-ovirt45-9.2-1.el9s.noarch 12/12 Verifying : centos-release-ceph-pacific-1.0-2.el9s.noarch 1/12 Verifying : centos-release-cloud-1-1.el9s.noarch 2/12 Verifying : centos-release-gluster10-1.0-2.el9s.noarch 3/12 Verifying : centos-release-messaging-1-4.el9s.noarch 4/12 Verifying : centos-release-nfv-common-1-5.el9s.noarch 5/12 Verifying : centos-release-nfv-openvswitch-1-5.el9s.noarch 6/12 Verifying : centos-release-openstack-yoga-1-4.el9s.noarch 7/12 Verifying : centos-release-opstools-1-12.el9s.noarch 8/12 Verifying : centos-release-ovirt45-9.2-1.el9s.noarch 9/12 Verifying : centos-release-rabbitmq-38-1-4.el9s.noarch 10/12 Verifying : centos-release-storage-common-2-5.el9s.noarch 11/12 Verifying : centos-release-virt-common-1-4.el9s.noarch 12/12 Installed: centos-release-ceph-pacific-1.0-2.el9s.noarch centos-release-cloud-1-1.el9s.noarch centos-release-gluster10-1.0-2.el9s.noarch centos-release-messaging-1-4.el9s.noarch centos-release-nfv-common-1-5.el9s.noarch centos-release-nfv-openvswitch-1-5.el9s.noarch centos-release-openstack-yoga-1-4.el9s.noarch centos-release-opstools-1-12.el9s.noarch centos-release-ovirt45-9.2-1.el9s.noarch centos-release-rabbitmq-38-1-4.el9s.noarch centos-release-storage-common-2-5.el9s.noarch centos-release-virt-common-1-4.el9s.noarch Complete! |
Verificare i repository abilitati sul sistema con il comando:
|
0 |
sudo dnf repolist |
Dovremmo visualizzare il seguente output:
|
0 1 2 3 4 5 6 7 8 9 10 11 12 13 |
repo id repo name appstream CentOS Stream 9 - AppStream baseos CentOS Stream 9 - BaseOS centos-ceph-pacific CentOS-9-stream - Ceph Pacific centos-gluster10 CentOS-9-stream - Gluster 10 centos-nfv-openvswitch CentOS Stream 9 - NFV OpenvSwitch centos-openstack-yoga CentOS-9 - OpenStack yoga centos-opstools CentOS Stream 9 - OpsTools - collectd centos-ovirt45 CentOS Stream 9 - oVirt 4.5 centos-rabbitmq-38 CentOS-9 - RabbitMQ 38 crb CentOS Stream 9 - CRB extras-common CentOS Stream 9 - Extras packages ovirt-45-upstream oVirt upstream for CentOS Stream 9 - oVirt 4.5 resilientstorage CentOS Stream 9 - ResilientStorage |
Fare l’upgrade dei pacchetti con il comando:
|
0 |
dnf upgrade --nobest |
Dovremmo visualizzare il seguente output:
|
0 1 2 3 4 5 6 7 8 9 10 11 12 |
====================================================================================================================================== Package Architecture Version Repository Size ====================================================================================================================================== Upgrading: python3-pycurl x86_64 7.45.2-2.1.el9 centos-ovirt45 185 k python3-setuptools noarch 57.4.0-1.el9s centos-ceph-pacific 920 k Transaction Summary ====================================================================================================================================== Upgrade 2 Packages Total download size: 1.1 M Is this ok [y/N]: y |
Premere Y
Aggiornare la cache dei metadata con il comando:
|
0 |
sudo dnf makecache -y |
Dovremmo visualizzare il seguente output:
|
0 1 2 3 4 5 6 7 8 9 10 11 12 13 14 |
CentOS-9-stream - Ceph Pacific 684 kB/s | 581 kB 00:00 CentOS-9-stream - Gluster 10 70 kB/s | 56 kB 00:00 CentOS-9 - RabbitMQ 38 134 kB/s | 123 kB 00:00 CentOS Stream 9 - NFV OpenvSwitch 480 kB/s | 352 kB 00:00 CentOS-9 - OpenStack yoga 3.6 MB/s | 3.1 MB 00:00 CentOS Stream 9 - OpsTools - collectd 72 kB/s | 51 kB 00:00 CentOS Stream 9 - oVirt 4.5 976 kB/s | 1.0 MB 00:01 determining the fastest mirror (9 hosts).. done.268 B/s | 508 B --:-- ETA oVirt upstream for CentOS Stream 9 - oVirt 4.5 1.5 kB/s | 7.5 kB 00:04 CentOS Stream 9 - BaseOS 28 kB/s | 14 kB 00:00 CentOS Stream 9 - AppStream 28 kB/s | 14 kB 00:00 CentOS Stream 9 - CRB 7.5 MB/s | 6.7 MB 00:00 CentOS Stream 9 - ResilientStorage 1.2 MB/s | 1.0 MB 00:00 CentOS Stream 9 - Extras packages 38 kB/s | 19 kB 00:00 Metadata cache created. |
INSTALLAZIONE DI OVIRT ENGINE
Impostare il nome host corretto per il server con il comando:
|
0 |
sudo hostnamectl set-hostname VM-SRV-CEN-MANAGER.test.lab |
NOTA BENE: sostituire il nome host VM-SRV-CEN-MANAGER.test.lab con quello desiderato
[OPZIONALE] Aggiungere l’IP e il relativo nome host al file /etc/hosts con il comando:
|
0 |
sudo nano /etc/hosts |
Quindi inserire la seguente riga:
|
0 |
192.168.100.35 VM-SRV-CEN-MANAGER.test.lab |
NOTA BENE: sostituire il nome host VM-SRV-CEN-MANAGER.test.lab e l’indirizzo IP con quello desiderato
Salvare e chiudere il file
Dopo aver configurato i repository richiesti, installare il pacchetto e le dipendenze per il motore oVirt con il comando:
|
0 |
sudo dnf install ovirt-engin |
Dovremmo visualizzare il seguente output:
|
0 1 2 3 4 5 6 |
Transaction Summary ================================================================================ Install 402 Packages Total download size: 781 M Installed size: 2.5 G Is this ok [y/N]: |
Premere Y per procedere con l’installazione dei pacchetti
Dovremmo visualizzare il seguente output:
|
0 1 2 3 4 |
Importing GPG key 0x9D2A76A7: Fingerprint: 3515 4228 1749 01BE FA8E 69A6 2146 5E28 9D2A 76A7 From : /etc/pki/rpm-gpg/RPM-GPG-KEY-CentOS-SIG-NFV Is this ok [y/N]: |
Premere Y per installare la chiave GPG
Dovremmo visualizzare il seguente output:
|
0 1 2 3 4 |
Importing GPG key 0x764429E6: Fingerprint: 736A F511 6D9C 40E2 AF6B 074B F9B9 FEE7 7644 29E6 From : /etc/pki/rpm-gpg/RPM-GPG-KEY-CentOS-SIG-Cloud Is this ok [y/N]: |
Premere Y per installare la chiave GPG
Dovremmo visualizzare il seguente output:
|
0 1 2 3 4 |
Importing GPG key 0x51BC2A13: Userid : "CentOS OpsTools SIG (https://wiki.centos.org/SpecialInterestGroup/OpsTools) <[email protected]>" Fingerprint: 7872 8176 9AD7 3878 85EE A649 4FD9 5327 51BC 2A13 From : /etc/pki/rpm-gpg/RPM-GPG-KEY-CentOS-SIG-OpsTools Is this ok [y/N]: |
Premere Y per installare la chiave GPG
Dovremmo visualizzare il seguente output:
|
0 1 2 3 4 |
Importing GPG key 0x61E8806C: Userid : "CentOS Virtualization SIG (http://wiki.centos.org/SpecialInterestGroup/Virtualization) <[email protected]>" Fingerprint: A7C8 E761 309D 2F1C 92C5 0B62 7AEB BE82 61E8 806C From : /etc/pki/rpm-gpg/RPM-GPG-KEY-CentOS-SIG-Virtualization Is this ok [y/N]: |
Premere Y per installare la chiave GPG
Dovremmo visualizzare il seguente output:
|
0 1 2 3 4 |
Importing GPG key 0x24901D0C: Fingerprint: 3C98 E81D B93D EA6D 54DE 690E 44E4 75CB 2490 1D0C From : /etc/pki/rpm-gpg/RPM-GPG-KEY-oVirt-4.5 Is this ok [y/N]: |
Premere Y per installare la chiave GPG
Dovremmo visualizzare il seguente output:
|
0 1 2 3 4 |
Importing GPG key 0x8483C65D: Fingerprint: 99DB 70FA E1D7 CE22 7FB6 4882 05B5 55B3 8483 C65D From : /etc/pki/rpm-gpg/RPM-GPG-KEY-centosofficial Is this ok [y/N]: |
Premere Y per installare la chiave GPG
Verificare che l’installazione sia andata a buon fine con il seguente comando:
|
0 |
rpm -qi ovirt-engine |
Se è tutto OK dovremmo visualizzare il seguente output:
|
0 1 2 3 4 5 6 7 8 9 10 11 12 13 14 15 16 17 18 19 |
Name : ovirt-engine Version : 4.5.6 Release : 1.el9 Architecture: noarch Install Date: Sat 08 Feb 2025 10:35:57 PM CET Group : Virtualization/Management Size : 39491334 License : ASL 2.0 Signature : RSA/SHA256, Mon 12 Feb 2024 02:25:41 PM CET, Key ID 7aebbe8261e8806c Source RPM : ovirt-engine-4.5.6-1.el9.src.rpm Build Date : Mon 12 Feb 2024 12:10:54 PM CET Build Host : aah8.rdu2.centos.org Packager : CBS <cbs@centos.org> Vendor : CentOS Community Build Service URL : http://www.ovirt.org Summary : Management server for Open Virtualization Description : oVirt Engine is a feature-rich server virtualization management system that provides advanced capabilities for managing the Open virtualization infrastructure for Servers and Desktops. |
CONFIGURAZIONE DEL MOTORE OVIRT
Per configurare oVirt Engine eseguire il comando:
|
0 |
sudo engine-setup |
Alla seguente domanda rispondere Yes:
|
0 1 |
Configure Cinderlib integration (Currently in tech preview) (Yes, No) [No]:Yes |
Alla seguente domanda rispondere Yes:
|
0 |
Configure Engine on this host (Yes, No) [Yes]:Yes |
Alla seguente domanda rispondere Yes:
|
0 1 2 3 4 |
Configuring ovirt-provider-ovn also sets the Default cluster's default network provider to ovirt-provider-ovn. Non-Default clusters may be configured with an OVN after installation. Configure ovirt-provider-ovn (Yes, No) [Yes]:Yes |
Alla seguente domanda rispondere Yes:
|
0 |
Configure WebSocket Proxy on this host (Yes, No) [Yes]: |
Alla seguente domanda rispondere Yes:
|
0 |
Configure Data Warehouse on this host (Yes, No) [Yes]:Yes |
Alla seguente domanda rispondere NO:
|
0 |
Configure Keycloak on this host (Yes, No) [Yes]:No |
ATTENZIONE: se si risponde Yes in fase di autenticazione al portale potremmo ricevere questo errore

Internal Server Error
The server encountered an internal error or misconfiguration and was unable to complete your request.
Please contact the server administrator at root@localhost to inform them of the time this error occurred, and the actions you performed just before this error.
More information about this error may be available in the server error log.
Alla seguente domanda rispondere Yes:
|
0 |
Configure VM Console Proxy on this host (Yes, No) [Yes]:Yes |
Alla seguente domanda rispondere Yes:
|
0 |
Configure Grafana on this host (Yes, No) [Yes]:Yes |
Alla seguente domanda confermare il nome host o inserirne un altro quindi premere INVIO:
|
0 1 2 3 |
--== NETWORK CONFIGURATION ==-- Host fully qualified DNS name of this server [VM-SRV-CEN-MANAGER.test.lab]: |
Alla seguente domanda rispondere Yes:
|
0 1 2 3 |
Setup can automatically configure the firewall on this system. Note: automatic configuration of the firewall may overwrite current settings. Do you want Setup to configure the firewall? (Yes, No) [Yes]:Yes |
La personalizzazione del database ha molte opzioni.
Impostare con ciò che si adatta al proprio utilizzo.
In questo tutorial imposterò tutti i valori predefiniti.
|
0 1 2 |
--== DATABASE CONFIGURATION ==-- Where is the DWH database located? (Local, Remote) [Local]: Enter |
Alla seguente domanda premetere INVIO:
|
0 1 2 3 4 5 |
Setup can configure the local postgresql server automatically for the DWH to run. This may conflict with existing applications. Would you like Setup to automatically configure postgresql and create DWH database, or prefer to perform that manually? (Automatic, Manual) [Automatic]: |
Alla seguente domanda premetere INVIO:
|
0 |
Where is the Keycloak database located? (Local, Remote) [Local]: |
Alla seguente domanda premetere INVIO:
|
0 1 2 3 4 5 |
Setup can configure the local postgresql server automatically for the Keycloak to run. This may conflict with existing applications. Would you like Setup to automatically configure postgresql and create Keycloak database, or prefer to perform that manually? (Automatic, Manual) [Automatic]: |
Alla seguente domanda premetere INVIO:
|
0 1 |
Where is the ovirt cinderlib database located? (Local, Remote) [Local]: |
Alla seguente domanda premetere INVIO:
|
0 1 2 3 4 5 |
Setup can configure the local postgresql server automatically for the CinderLib to run. This may conflict with existing applications. Would you like Setup to automatically configure postgresql and create CinderLib database, or prefer to perform that manually? (Automatic, Manual) [Automatic]: |
Alla seguente domanda premetere INVIO:
|
0 |
Where is the Engine database located? (Local, Remote) [Local]: |
Alla seguente domanda premetere INVIO:
|
0 1 2 3 4 5 |
Setup can configure the local postgresql server automatically for the engine to run. This may conflict with existing applications. Would you like Setup to automatically configure postgresql and create Engine database, or prefer to perform that manually? (Automatic, Manual) [Automatic]: |
Impostare la password dell’amministratore di oVirt Engine:
|
0 1 2 3 |
--== OVIRT ENGINE CONFIGURATION ==-- Engine admin password: Confirm engine admin password: |
Alla seguente domanda premetere INVIO:
|
0 |
Application mode (Virt, Gluster, Both) [Both]: |
Alla seguente domanda rispondere Yes:
|
0 1 |
Use Engine admin password as initial keycloak admin password (Yes, No) [Yes]:Yes |
Completare in base alle proprie esigenze le impostazioni per le opzioni rimanenti
Alla seguente domanda premetere INVIO:
|
0 1 2 |
--== STORAGE CONFIGURATION ==-- Default SAN wipe after delete (Yes, No) [No]: |
Alla seguente domanda premetere INVIO:
|
0 1 2 |
--== PKI CONFIGURATION ==-- Organization name for certificate [test.lab]: |
Alla seguente domanda rispondere Yes:
|
0 1 2 3 4 5 6 |
--== APACHE CONFIGURATION ==-- Setup can configure the default page of the web server to present the application home page. This may conflict with existing applications. Do you wish to set the application as the default page of the web server? (Yes, No) [Yes]:Yes |
Alla seguente domanda premetere INVIO:
|
0 1 2 3 |
Setup can configure apache to use SSL using a certificate issued from the internal CA. Do you wish Setup to configure that, or prefer to perform that manually? (Automatic, Manual) [Automatic]: |
Alla seguente domanda premetere INVIO:
|
0 1 2 3 4 5 6 7 |
--== SYSTEM CONFIGURATION ==-- --== MISC CONFIGURATION ==-- Please choose Data Warehouse sampling scale: (1) Basic (2) Full (1, 2)[1]: |
Alla seguente domanda rispondere Yes:
|
0 1 |
Use Engine admin password as initial Grafana admin password (Yes, No) [Yes]:Yes |
Confermare le impostazioni dell’installazione premendo INVIO
|
0 |
Please confirm installation settings (OK, Cancel) [OK]: |
Attendere il completamento dell’installazione e se andato tutto a buon fine dovremmo visualizzare il seguente output:
|
0 1 2 3 4 5 6 7 8 9 10 11 12 13 14 15 16 17 18 19 20 21 22 23 24 25 26 27 28 29 30 31 32 33 34 35 36 37 38 39 40 41 42 43 44 45 46 47 48 49 50 51 52 53 54 55 56 57 58 59 60 61 62 63 64 |
[ INFO ] Stage: Transaction setup [ INFO ] Stopping engine service [ INFO ] Stopping ovirt-fence-kdump-listener service [ INFO ] Stopping dwh service [ INFO ] Stopping vmconsole-proxy service [ INFO ] Stopping websocket-proxy service [ INFO ] Stage: Misc configuration (early) [ INFO ] Stage: Package installation [ INFO ] Stage: Misc configuration [ INFO ] Initializing PostgreSQL [ INFO ] Creating PostgreSQL 'ovirt_cinderlib' database [ INFO ] Configuring PostgreSQL [ INFO ] Upgrading CA [ INFO ] Creating PostgreSQL 'engine' database [ INFO ] Configuring PostgreSQL [ INFO ] Creating PostgreSQL 'ovirt_engine_history' database [ INFO ] Configuring PostgreSQL [ INFO ] Creating PostgreSQL 'ovirt_engine_keycloak' database [ INFO ] Configuring PostgreSQL [ INFO ] Creating CA: /etc/pki/ovirt-engine/ca.pem [ INFO ] Creating CA: /etc/pki/ovirt-engine/qemu-ca.pem [ INFO ] Creating a user for Grafana [ INFO ] Allowing ovirt_engine_history_grafana to read data on ovirt_engine_history [ INFO ] Setting up ovirt-vmconsole proxy helper PKI artifacts [ INFO ] Setting up ovirt-vmconsole SSH PKI artifacts [ INFO ] Configuring WebSocket Proxy [ INFO ] Creating/refreshing Engine database schema [ INFO ] Creating/refreshing DWH database schema [ INFO ] Updating OVN SSL configuration [ INFO ] Updating OVN timeout configuration [ INFO ] Creating/refreshing Engine 'internal' domain database schema [ INFO ] Creating default mac pool range [ INFO ] Adding default OVN provider to database [ INFO ] Adding OVN provider secret to database [ INFO ] Setting a password for internal user admin [ INFO ] Creating initial Keycloak admin user [ INFO ] Generating post install configuration file '/etc/ovirt-engine-setup.conf.d/20-setup-ovirt-post.conf' [ INFO ] Stage: Transaction commit [ INFO ] Stage: Closing up --== SUMMARY ==-- [ INFO ] No need to restart fapolicyd because it is not running. [ INFO ] Starting dwh service [ INFO ] Starting Grafana service [ INFO ] Restarting ovirt-vmconsole proxy service To login to oVirt using Keycloak SSO, enter 'admin@ovirt' as username and the password provided during Setup To login to Keycloak Administration Console enter 'admin' as username and the password provided during Setup Web access for Keycloak Administration Console is enabled at: https://VM-SRV-CEN-MANAGER.test.lab/ovirt-engine-auth/admin Web access is enabled at: http://VM-SRV-CEN-MANAGER.test.lab:80/ovirt-engine https://VM-SRV-CEN-MANAGER.test.lab:443/ovirt-engine Internal CA fingerprint: SHA256: 82:79:FD:C7:8E:CA:B7:4A:9B:EC:2C:20:65:42:3D:69:1A:23:D9:D0:C1:A0:69:8E:98:B9:59:AB:9C:97:0D:7D SSH fingerprint: SHA256:20ush27Hsw33ckcBT49ygvnyTSQbDu/vd6OF5chxtig [ INFO ] Starting engine service Web access for grafana is enabled at: https://VM-SRV-CEN-MANAGER.test.lab/ovirt-engine-grafana/ Please run the following command on the engine machine VM-SRV-CEN-MANAGER.test.lab, for SSO to work: systemctl restart ovirt-engine |
Il rapporto di riepilogo della fine dell’installazione riuscita viene stampato sullo schermo.
|
0 1 2 3 4 5 6 7 8 9 10 11 |
--== END OF SUMMARY ==-- [ INFO ] Restarting httpd [ INFO ] Start with setting up Keycloak for Ovirt Engine [ INFO ] Done with setting up Keycloak for Ovirt Engine [ INFO ] Stage: Clean up Log file is located at /var/log/ovirt-engine/setup/ovirt-engine-setup-20250208223758-9dkorw.log [ INFO ] Generating answer file '/var/lib/ovirt-engine/setup/answers/20250208225543-setup.conf' [ INFO ] Stage: Pre-termination [ INFO ] Stage: Termination [ INFO ] Execution of setup completed successfully |
CONFIGURAZIONE DEL FIREWALL
Verificare se il firewall è in esecuzione con il comando:
|
0 |
sudo systemctl status --now firewalld |
Se non è attivo avviarlo con il comando:
|
0 |
sudo systemctl enable --now firewalld |
Se firewalld non è presente installarlo con il comando:
|
0 |
sudo dnf -y install firewalld |
Dopo aver attivato il firewall copiare il file XML con le porte per oVirt Engine con il comando:
|
0 |
sudo cp /etc/ovirt-engine/firewalld/* /etc/firewalld/services |
Ricaricare le regole del firewall con il comando:
|
0 |
sudo firewall-cmd --reload |
Verificare le regole presenti con il comando:
|
0 |
sudo firewall-cmd --list-all |
Dovremmo visualizzare il seguente output:
|
0 1 2 3 4 5 6 7 8 9 10 11 12 13 |
public (active) target: default icmp-block-inversion: no interfaces: ens33 sources: services: cockpit dhcpv6-client ovirt-fence-kdump-listener ovirt-http ovirt-https ovirt-imageio-proxy ovirt-postgres ovirt-provider-ovn ovirt-vmconsole-proxy ovirt-websocket-proxy ovn-central-firewall-service ssh ports: 9986/tcp protocols: forward: yes masquerade: no forward-ports: source-ports: icmp-blocks: rich rules: |
ACCESSO ALL’INTERFACCIA WEB DI OVIRT ENGINE
Per accedere a oVirt Engine sul browser web, utilizzare https://manager-fqdn/ovirt-engine.
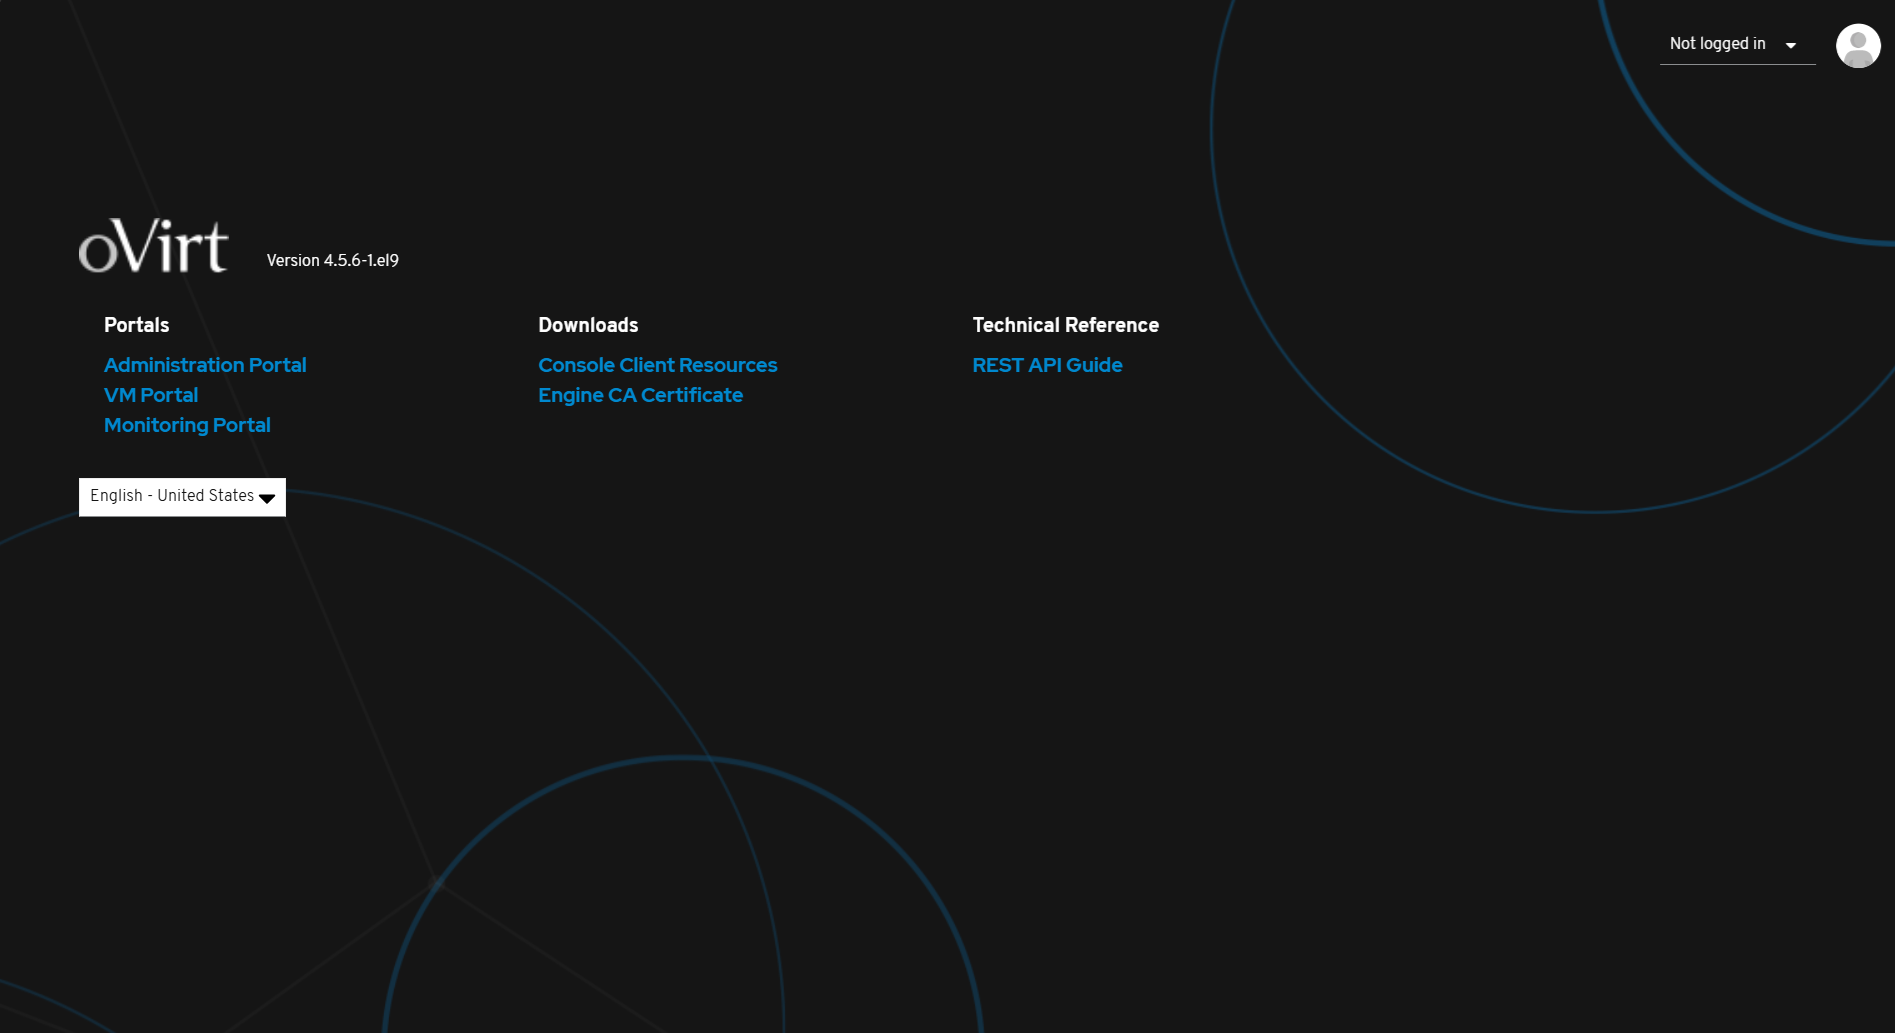
Dovremmo visualizzare una schermata come mostrato nell’immagine sovrastante
Cliccare su Administration Portal
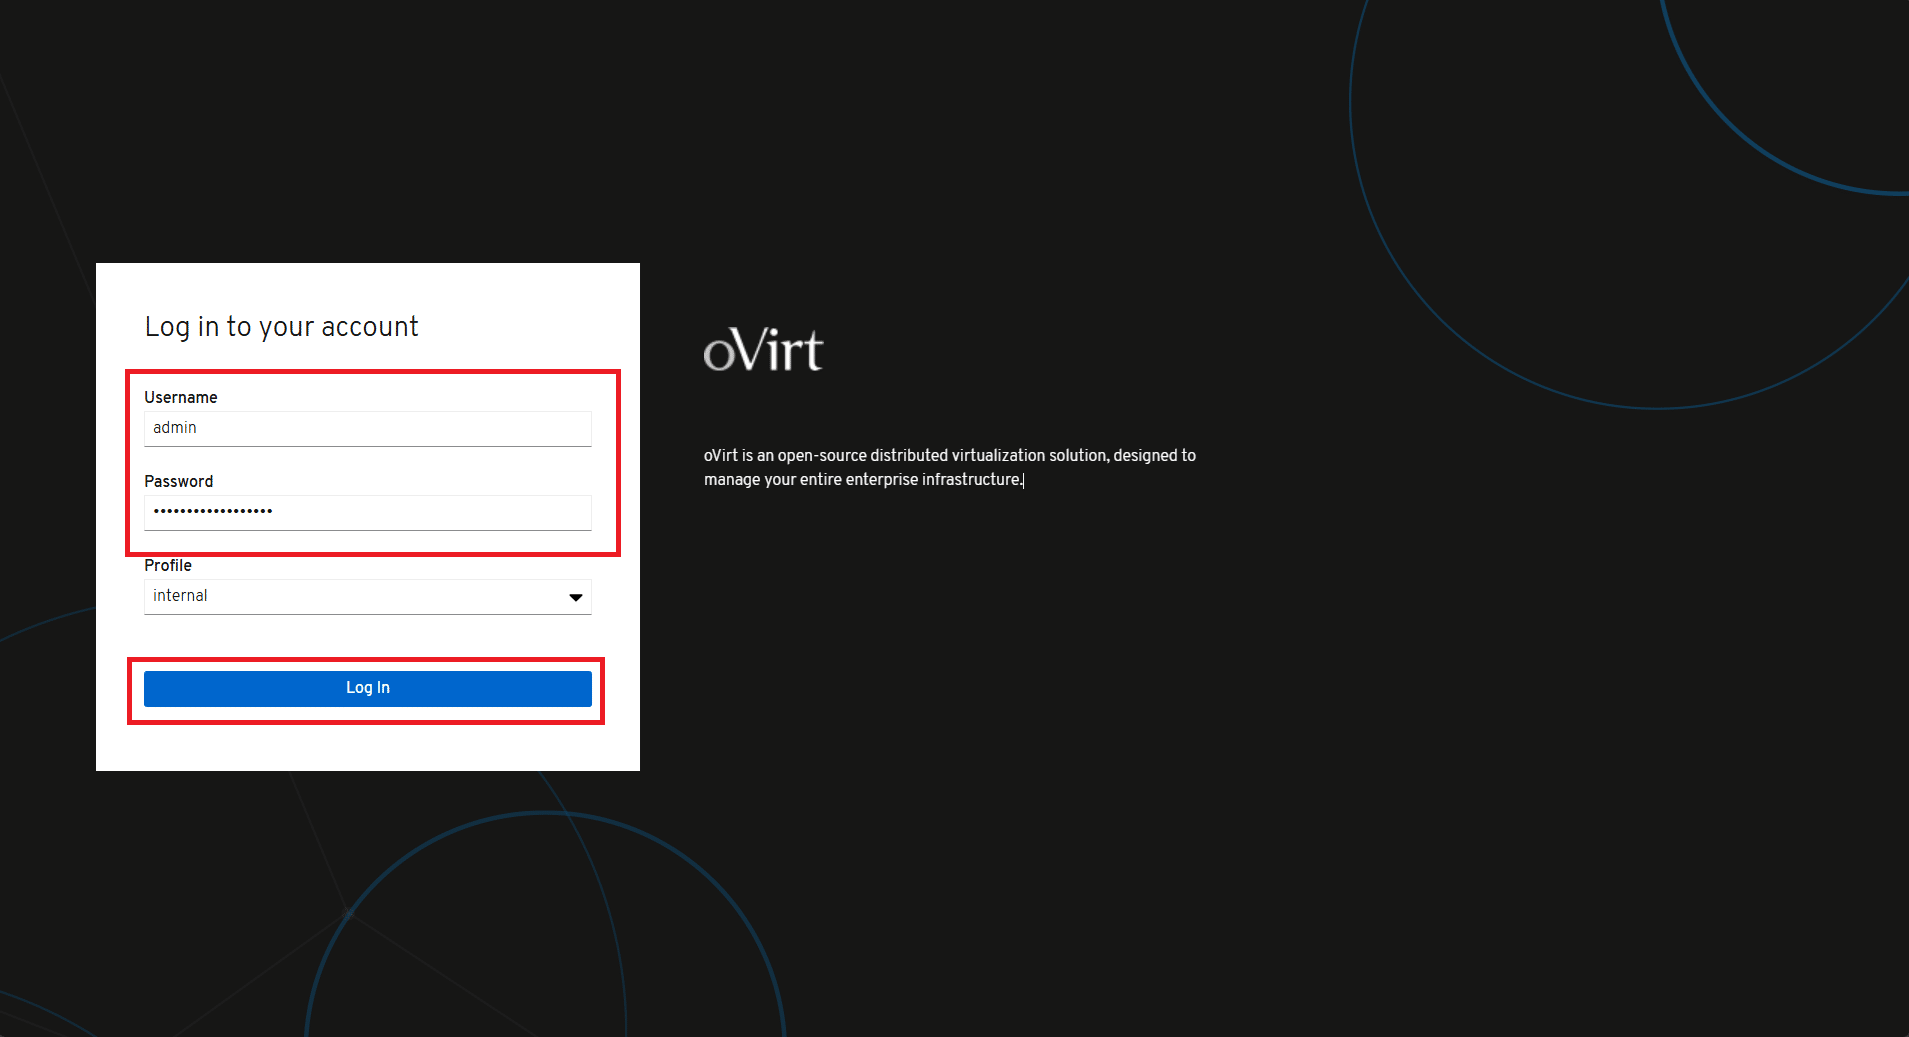
Accedere con l’account amministratore:
USER: admin
PASSWORD: utilizzare la password specificata durante l’installazione
Cliccare Login
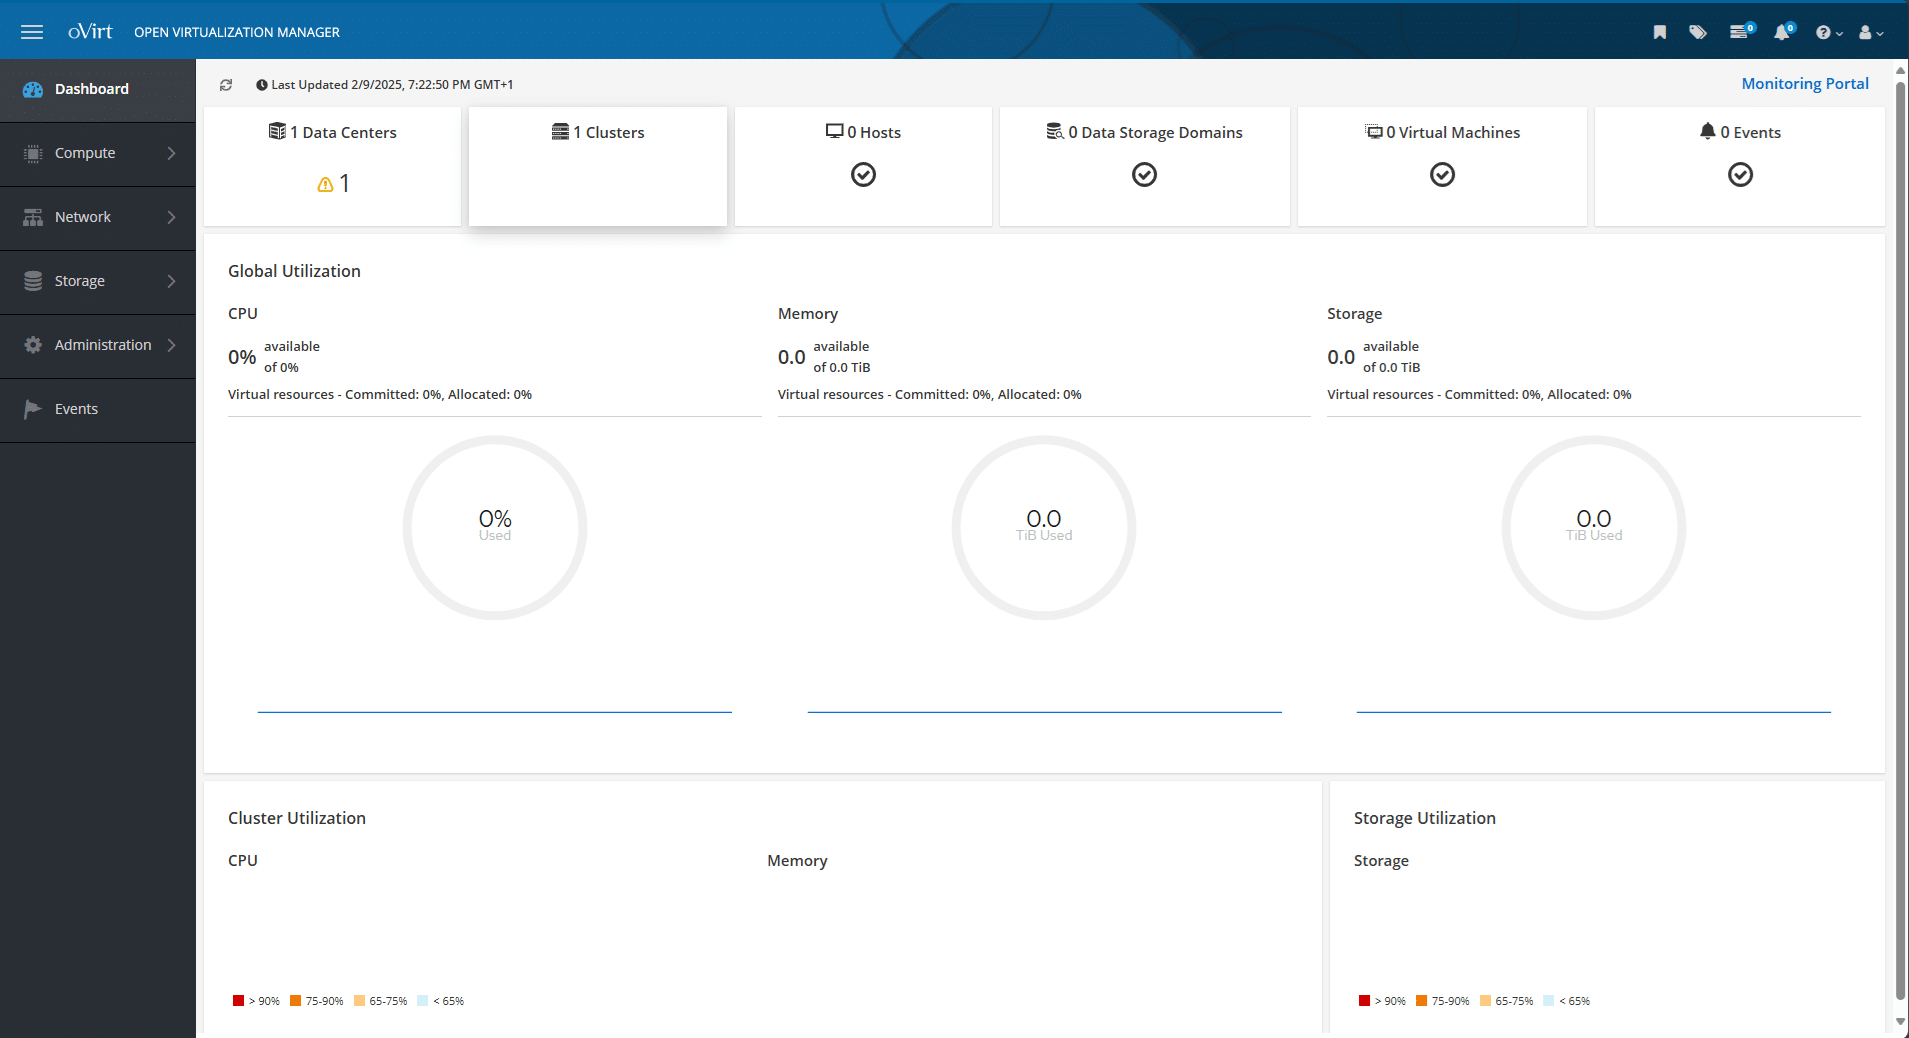
Dovremmo visualizzare la pagina di Open Virtualization Manager
A questo punto è possibile configurare il datacenter, creare il cluster ed aggiungere gli Host
ACCESSO ALLA DASHBOARD DI GRAFANA
Per accedere alla Dashboard di Grafana dalla pagina iniziale
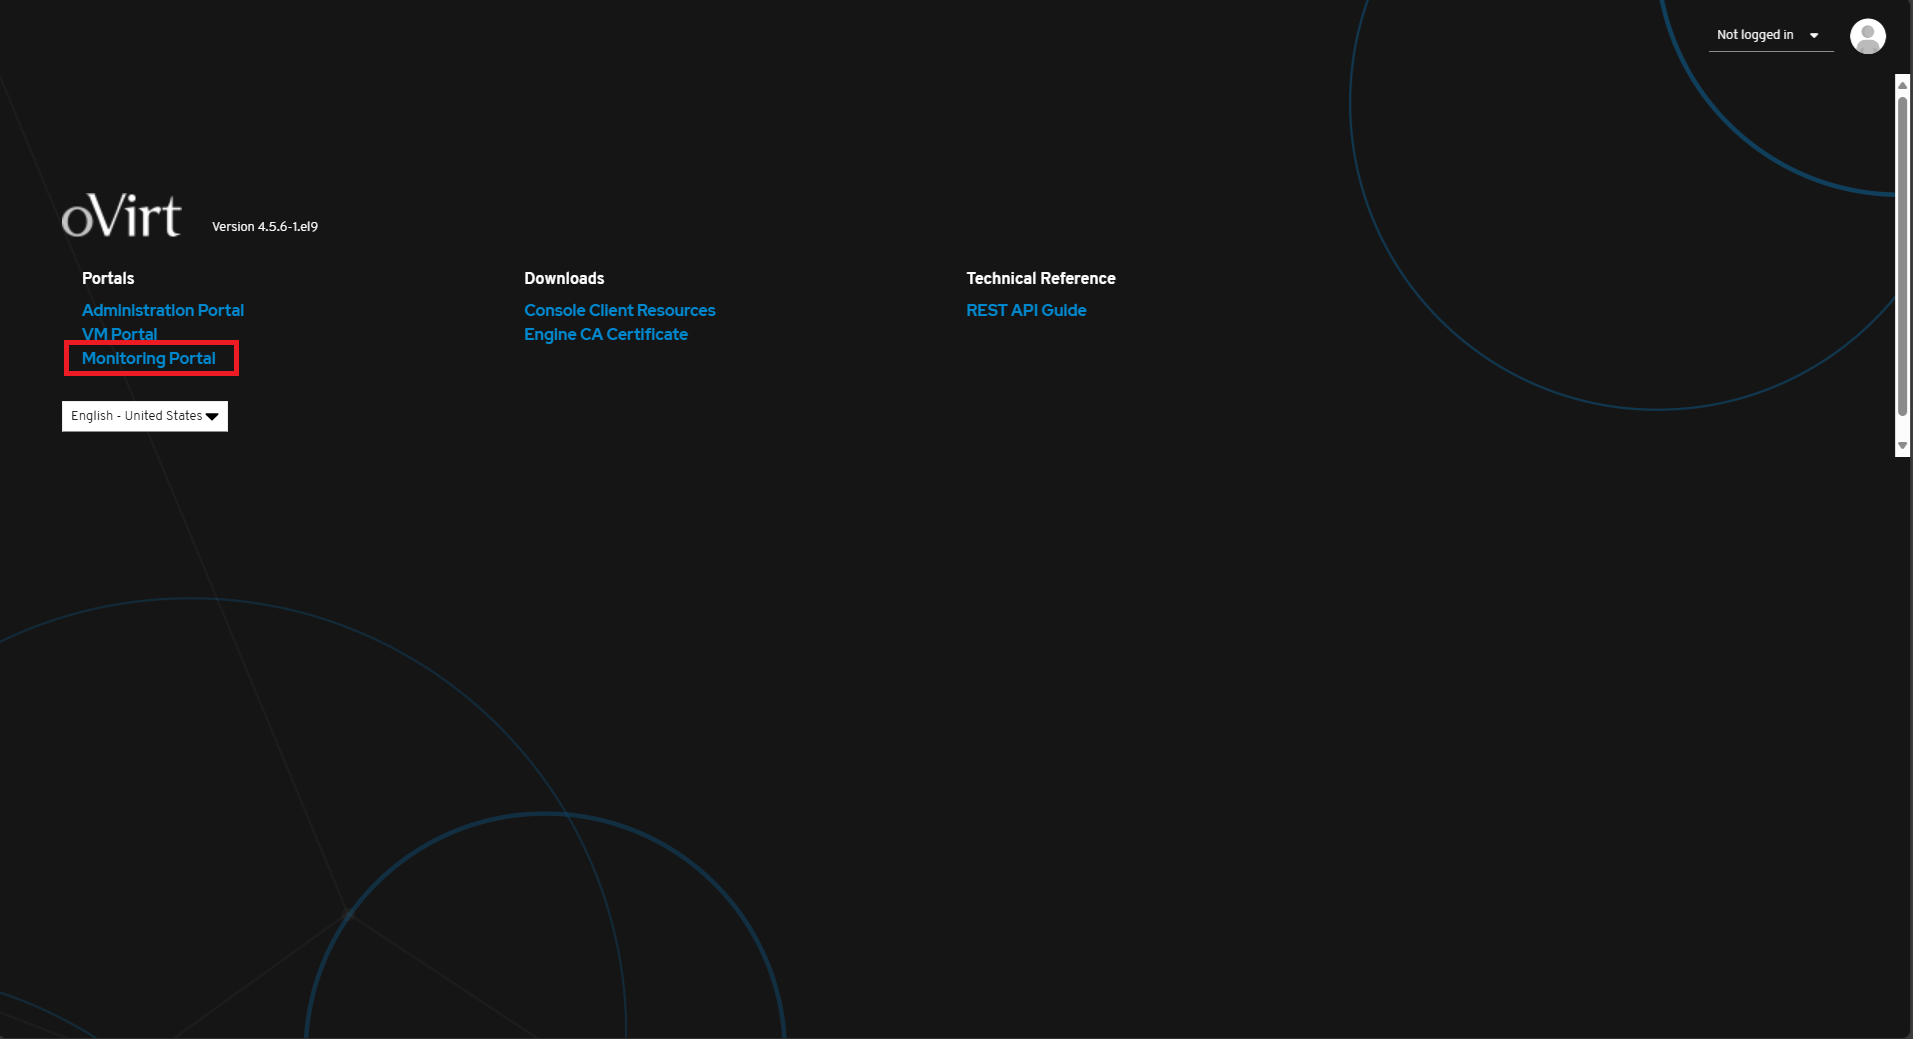
Cliccare su Monitoring Portal come indicato nell’immagine sovrastante

Inserire le credenziali amministrative utilizzate per accedere all’Administration Portal
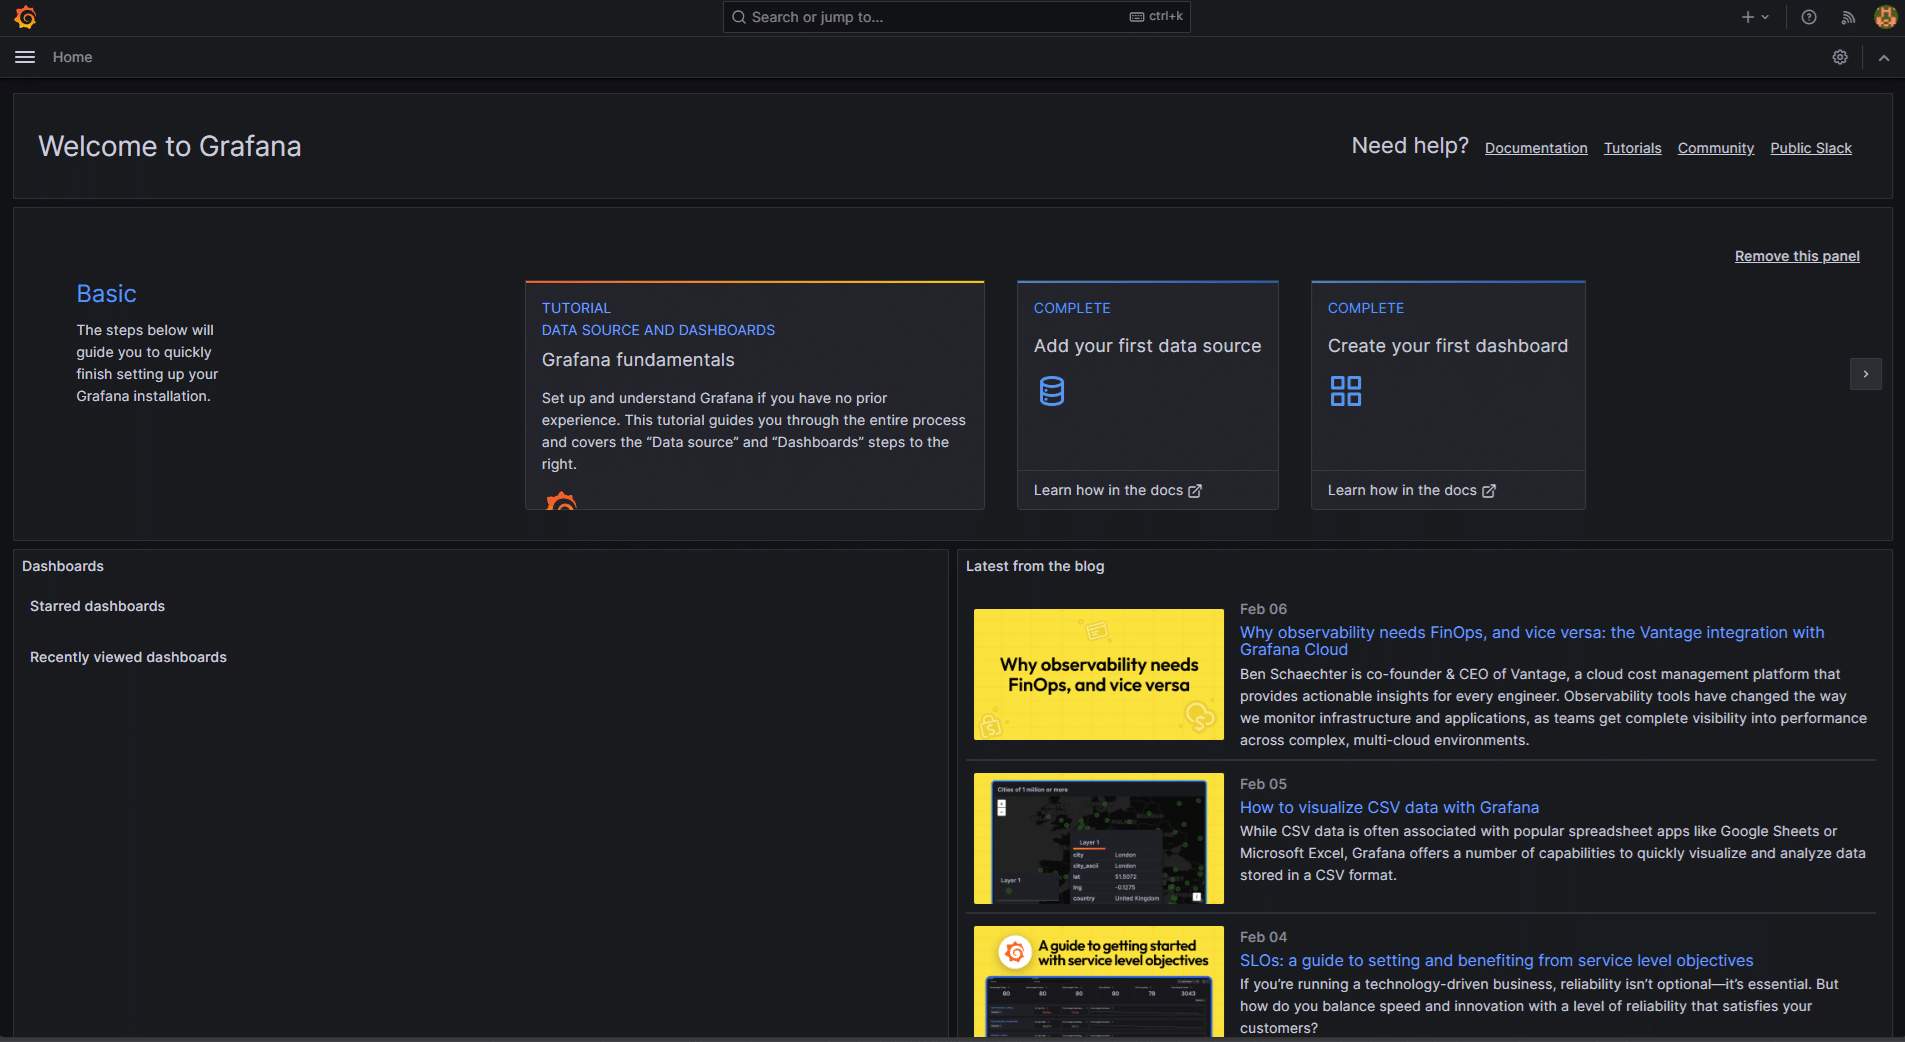
Se è tutto OK dovremmo accedere alla Dashboard di Grafana
TIPS DI CONFIGURAZIONE
È possibile aggiungere nomi host o indirizzi IP alternativi per accedere al portale di amministrazione.
Posizionarsi nella directory engine.conf.d con il comando:
|
0 |
cd /etc/ovirt-engine/engine.conf.d/ |
Individuare il file che termina con setup-sso.conf (nel mio caso si chiama 11-setup-sso.conf)
Editare il file con il comando:
|
0 |
nano 11-setup-sso.conf |
Indivudare la riga SSO_ALTERNATE_ENGINE_FQDNS=””
Quindi inserire gli host alternativi che si intende richiamare via browser.
L’elenco dei nomi host alternativi deve essere separato da spazi.
È inoltre possibile aggiungere l’indirizzo IP del motore all’elenco, ma non è consigliabile utilizzare indirizzi IP anziché nomi host risolvibili tramite DNS.
Al termine della configurazione Salvare e chiudere il file
Riavviare oVirt Engine per rendere effettive le modifiche con il comando:
|
0 |
systemctl restart ovirt-engine |


![Errore in LibreNMS: Python3 module issue found: ‘Required packages: [‘PyMySQL!=1.0.0’, ‘python-dotenv’, ‘redis>=4.0’, ‘setuptools’, ‘psutil>=5.6.0’, ‘command_runner>=1.3.0’]](https://www.raffaelechiatto.com/wp-content/uploads/2024/09/Errore_in_LibreNMS_Python3_module_issue_found-1080x675.png.avif)


0 commenti